End to End Testing for Npm Packages with Verdaccio
Last modified: 5/29/2023If you’ve been developing npm packages for a while and use build tools like typescript, you probably know that sometimes your packages behave after differently after being built. Whether it’s due to some magic the typescript compiler is doing, differences between esm and commonjs or something else entirely, it’s extremely frustrating to publish a package only to find that it’s broken.
There are tools available like npm/yarn/pnpm link and yalc to help simuate publishing packages in your local environment, but these tools have their own limitations that may make your code behave differently than when published to an npm registry.
For example, most link commands have some shortcomings related to symlinks. And yalc has it’s own lock file as opposed to integrating directly with your package manager. Wouldn’t it be nice if you could truly end-to-end test your npm packages? This is where Verdaccio comes in.
Verdaccio
The Verdaccio docs describe it as:
A lightweight Node.js private proxy registry
Verdaccio is more than just a tool for end-to-end testing. It’s an open-source, full fledged npm registry. So, while I’ll be going over how to use Verdaccio for end to end testing, there are other use cases like:
- Hosting your own instance(s) as a private registry for your organization
- Hosting locally for installing npm packages while offline
Getting started
Docker Container Setup
The easiest way to get started with Verdaccio in my opinion, is to use their docker image:
docker pull verdaccio/verdaccio
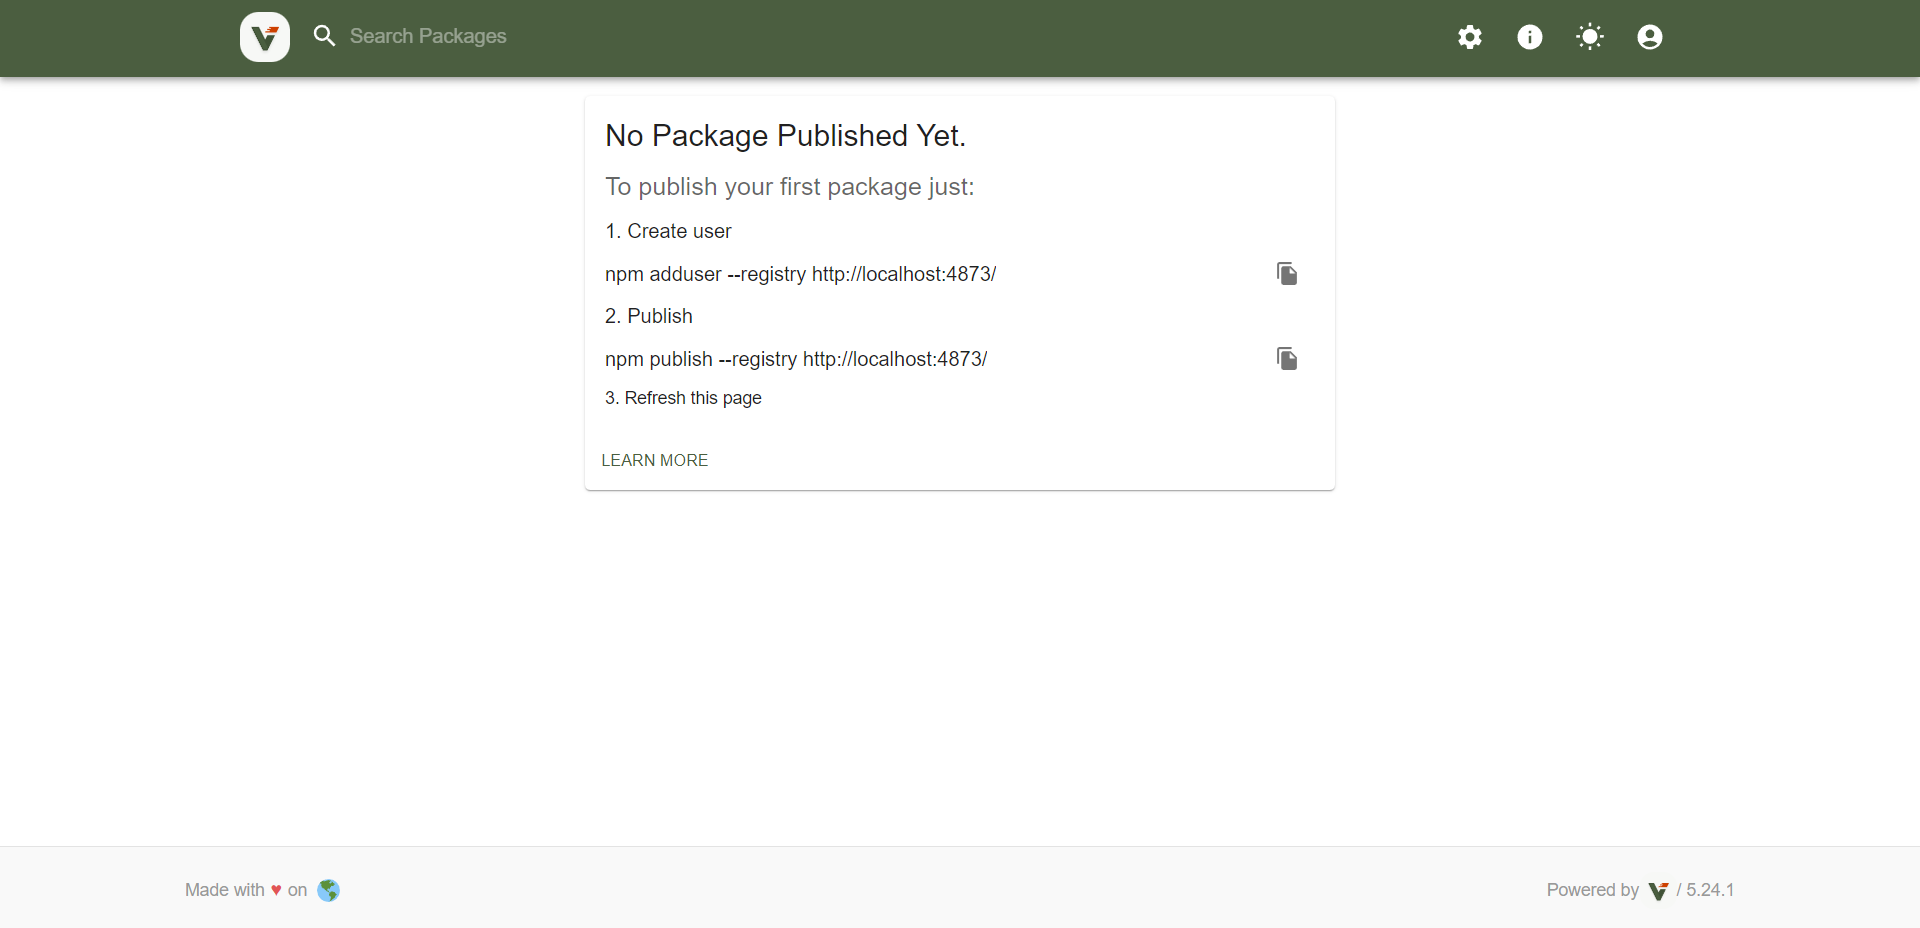
docker run -it --rm --name verdaccio -p 4873:4873 verdaccio/verdaccioNext, let’s set up a user so that we can login to the npm registry:
npm adduser --registry http://localhost:4873Once you’ve created your user you should be able to checkout the Verdaccio UI at http://localhost:4873!
Installing Packages from Verdaccio
Before we publish a package we need to create one locally. If you’ve already got a package in mind, you can skip this step.
npm init -yNote: in this example, my package is named my-test-pkg1.
Next, we’ll configure the project’s .npmrc to point to the verdaccio npm registry:
echo "registry=http://localhost:4873" > .npmrc
# OR if you want to configure this globally
echo "registry=http://localhost:4873" > ~/.npmrc
# OR if you only want to use the verdaccio npm registry for specific scoped packages
echo "@myscope:registry=http://localhost:4873" > .npmrc
Now that we’re directing our npm registry to our local verdaccio instance, let’s try installing a package.
npm install -D typescriptIf we take a look at the project’s package-lock.json after this, you should see the resolved url to be pointing to our locally running instance:
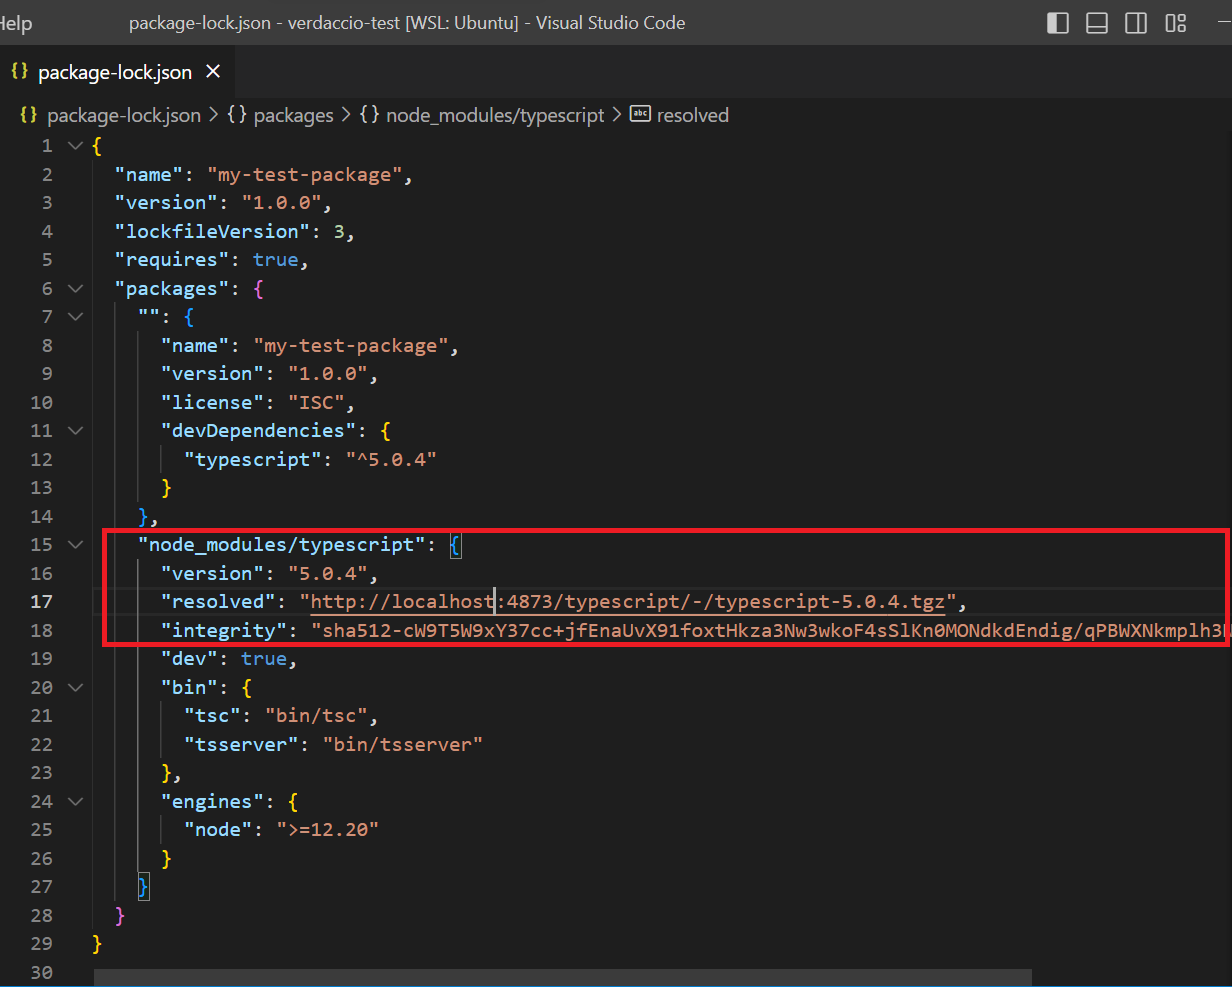
If you’re following along, or just looked at the previous screenshot you might have noticed that there were no packages published to verdaccio. So where did this package come from? Verdaccio supports a concept known as uplinks.
From verdaccio docs:
An uplink is a link with an external registry that provides access to external packages.
I like to think of an uplink as a way of aggregating packages across multiple registries while serving them all from a single registry. By default, Verdaccio contains an uplink for the public npm registry (registry.npmjs.org), which is where typescript is being pulled from. This allows you to easily pull your private packages & public packages from the same registry.
Let’s do a few more things to make sure our package is ready for publish:
- Create a
tsconfig.jsonby runningtsc --init. If needed, make configurations as necesary. In this example, I have the followingtsconfig.json:
{
  "compilerOptions": {
    /* Visit https://aka.ms/tsconfig to read more about this file */

    /* Projects */
    "target": "es2016" /* Set the JavaScript language version for emitted JavaScript and include compatible library declarations. */,

    /* Modules */
    "module": "commonjs" /* Specify what module code is generated. */,
    "rootDir": "./src/" /* Specify the root folder within your source files. */,
    "outDir": "./dist" /* Specify an output folder for all emitted files. */,
    "esModuleInterop": true /* Emit additional JavaScript to ease support for importing CommonJS modules. This enables 'allowSyntheticDefaultImports' for type compatibility. */,
    "forceConsistentCasingInFileNames": true /* Ensure that casing is correct in imports. */,

    /* Type Checking */
    "strict": true /* Enable all strict type-checking options. */,
    "skipLibCheck": true /* Skip type checking all .d.ts files. */
  }
}- Update the
package.jsonto have a typescript build step & to point to the correct compiled files.
{
  "name": "my-test-pkg1",
  "version": "1.0.0",
  "description": "",
  "main": "dist/index.js",
  "files": ["dist/"],
  "scripts": {
    "build": "tsc"
  },
  "keywords": [],
  "author": "",
  "license": "ISC",
  "devDependencies": {
    "typescript": "^5.0.4"
  }
}
Publishing Your First Package to Verdaccio
Next, we need to actually create some code that we want to publish.
For the purposes of keeping this blog post simple and focused on e2e testing, we will create a very simple function that we want to package:
// src/index.ts
export function identity(myParam: any) {
  return myParam;
}
Now you should be ready to publish your package:
npm publishAfter running, you should see some output similar to following:
> my-test-pkg1@1.0.0 prepublishOnly
> npm run build


> my-test-pkg1@1.0.0 prebuild
> rm -rf dist/


> my-test-pkg1@1.0.0 build
> tsc

npm notice
npm notice 📦  my-test-pkg1@1.0.0
npm notice === Tarball Contents ===
npm notice 184B dist/index.js
npm notice 340B package.json
npm notice === Tarball Details ===
npm notice name:          my-test-pkg1
npm notice version:       1.0.0
npm notice filename:      my-test-pkg1-1.0.0.tgz
npm notice package size:  430 B
npm notice unpacked size: 524 B
npm notice shasum:        f55b70b72ce1939c964974d6e9a0cdb4d5e43e78
npm notice integrity:     sha512-+6ZkLRFacVxtf[...]t70INOKyhcyUw==
npm notice total files:   2
npm notice
npm notice Publishing to http://localhost:4873 with tag latest and default access
+ my-test-pkg1@1.0.0
Congratulations, you’ve just published your first package to Verdaccio! But what about testing that functionality?
Testing Your Packages
Locally
To test this functionality, we’ll set up a new npm package where we intend to install the package. Setup for this package is identical to how we set up the published package, but we can stop once the .npmrc is set up.
Next let’s cd into the new package’s directory and install our published package:
npm i my-test-pkg1Now, that the package is installed, let’s create a short script to verify the function is working as intended:
// index.js
const { identity } = require("my-test-pkg1");

console.log(identity("Foo Bar"));
If everything is working as expected, you should be able to run this script successfully with:
node index.jsThis is pretty cool, but wouldn’t it be much better if we could run automated test suites to test this functionality?
I think that the easiest way to incorporate a test suite in your project these days is to add vitest.
Note: If you already have a testing suite set up, you can skip to the next section.
npm i -D vitestNext, create a boilerplate vitest.config.ts file:
// vitest.config.ts
import { defineConfig } from "vitest/config";

export default defineConfig({
  test: {},
});
Next, let’s create a simple unit test for our published package using vitest:
// test/my-test-pkg1.spec.ts
import { describe, expect, it } from "vitest";
const { identity } = require("my-test-pkg1");

describe("my-test-pkg1", () => {
  it("returns the correct value", () => {
    expect(identity("Foo Bar")).toEqual("Foo Bar");
  });
});
Finally, let’s add a script to the package.json so we can easily run the test suite:
...
   "scripts: {
    ...
    "test": "vitest run",
    ...
   }
Now you should be able to run your automated test suite with npm run test & see something similar to the following:

Testing as a CI job
If you’ve setup CI jobs before, you may already have an idea of how to run the test suite. The tricky part ends up being standing up the verdaccio instance and getting your package published from the CI environment.
Luckily, Github Actions allows you to provide a services definition to your jobs, which allows you to run containerized services alongside your jobs.
For example you may have the following in your workflow:
jobs:
  e2e-test:
    services:
      verdaccio-instance:
        image: verdaccio/verdaccio
        ports:
          - 4873:4873
The above snippet is simply saying to run the verdaccio docker image as part of the e2e-test job. We forward the port that verdaccio runs on so we can access it from the job.
From here, you should be able use the verdaccio instance for both installing & publishing packages from your CI job. For a full example of a job specification, see below:
jobs:
  e2e-test:
    services:
      verdaccio-instance:
        image: verdaccio/verdaccio
        ports:
          - 4873:4873
    runs-on: ubuntu-latest
    steps:
      - uses: actions/checkout@v3
      - name: Use Node.js 20
        uses: actions/setup-node@v3
        with:
          node-version: 20
          cache: "npm"
        # Setup verdaccio as the default npm registry
      - run: echo "registry=http://localhost:4873" > ~/.npmrc
      - name: Publish Package
        run: |
          {
            cd verdaccio-test
            npm version 1.0.0-test-ci --git-tag-version=false
            npm ci
            npx npm-cli-login -u test -p 1234 -e test@domain.test -r http://localhost:4873
            npm publish --registry http://localhost:4873
          }
      - name: "Test published package"
        run: |
          {
            cd verdaccio-test-install
            npm install
            npm install my-test-pkg1@1.0.0-test-ci
            npm run test
          }
Closing Thoughts
Before implementing this for every one of your projects, take a while to think about whether you actually need it. Verdaccio is a very helpful tool, but it admittedly adds complexity that’s not necessary for every project. Have you run into problems that can’t be debugged without first having the package published? If you aren’t, it might not be time to adopt Verdaccio yet.
While this setup may not be necessary for every project, I think that Verdaccio provides a superior service to alternatives like npm link & yalc, due to simulateneously being a full-fledged npm registry as well and providing an ephemeral environment that can be recreated simply with a docker image. I hope this article was useful for you in getting started with e2e testing npm packages. Happy Coding!
The full source code for the Verdaccio PoC can be found here: https://github.com/willwill96/verdaccio-e2e-testing